What is Engagement Bid Strategy?
Engagement Bid Strategy (EBS) utilizes Outbrain’s machine learning technology combined with first-party analytics data to automatically optimize and adjust bids in order to achieve marketers’ engagement goals.
By leveraging user behavior and intent data from Outbrain and/or via direct integrations with website analytics tools*, EBS aims to help brands more effectively reach audiences in order to drive real intent and attention to messaging. Ultimately, this new tool drives long-term outcomes while reducing privacy concerns and reliance on third-party cookies.
*Please note: Outbrain only supports Google Analytics Universal and Google Analytics 4 integration at this time. Additional analytics tools will be added in the near future.
How do I use Engagement Bid Strategy?
For existing campaigns:
Simply go to your Account Settings and scroll down the page until you reach the “Integration” section.
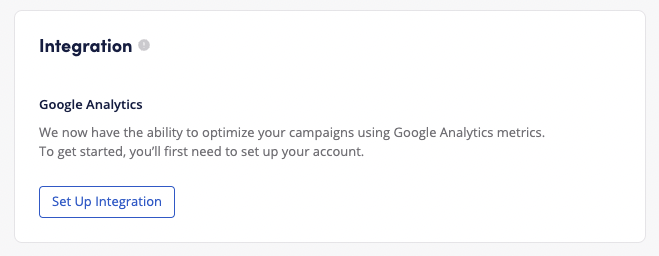
1. Click the “Set Up Integration” button.
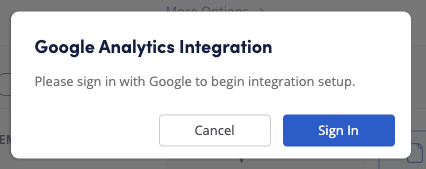
A pop-up message will appear, asking you to connect your Google Analytics account. Choose the relevant integration (Google Analytics Universal or Google Analytics 4) and sign in with your Google account. Select the “Sign In” button.
2. Once you’re signed in, you’ll be prompted to allow Outbrain Amplify to access your Google Account (please note that Outbrain only accesses the Google Analytics data generated for Outbrain, and does not modify the data — it’s for read-only purposes). Click “Allow.”
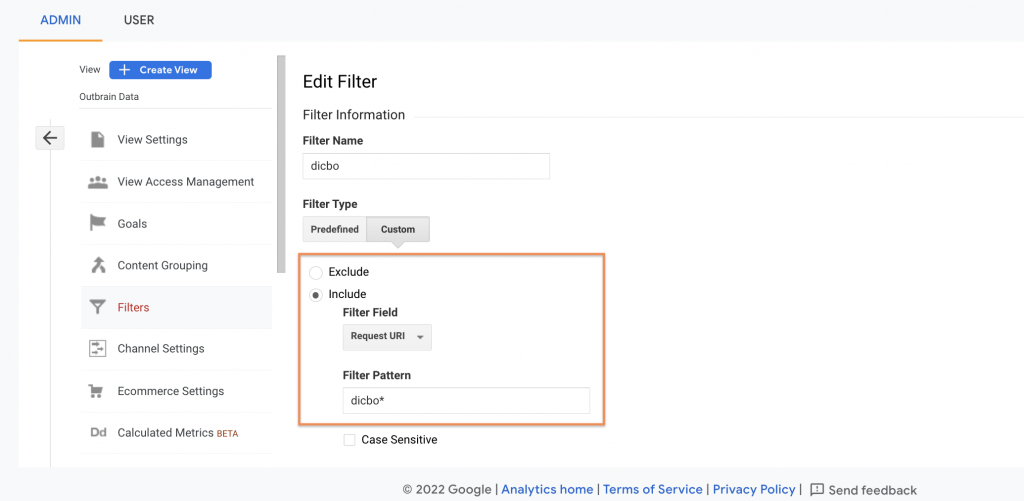
*If you are using Google Analytics Universal, you can also create a view level filter in Google Analytics that allows you to filter out only traffic coming from Outbrain campaigns. Click here to learn more.
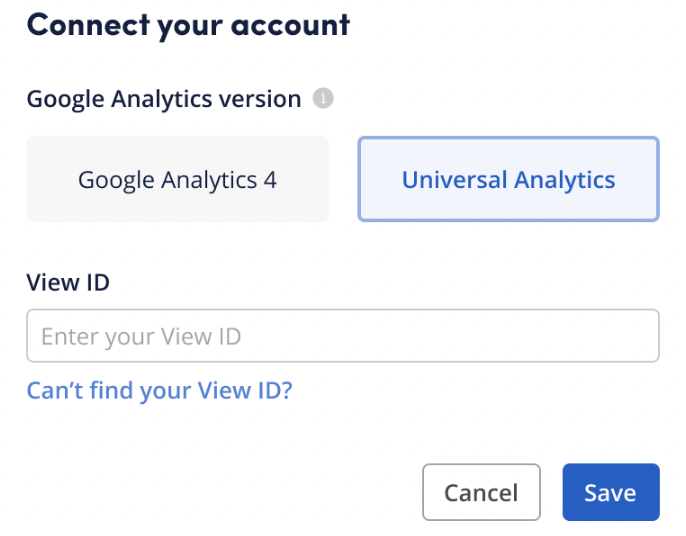
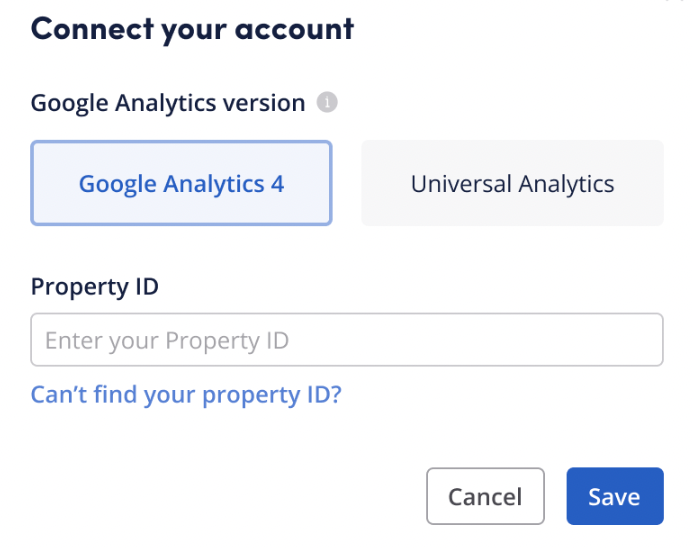
3. A new pop-up message will appear asking you to enter your Google Analytics View ID (if using GA universal) or Property ID (if using Google Analytics 4).
How to retrieve your View/Property ID:
- If using GA universal:
Open your Google Analytics account and click “Admin” at the bottom of the left-hand navigation bar.
Click “View Settings” in the View column.
Your View ID will be shown under “Basic Settings.”
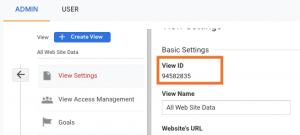
Copy and paste it in the below field, then click “Save”.
- If using GA4:
Open your GA4 account and click “Admin” at the bottom of the left-hand navigation bar.
In the Admin tab, navigate to the “Property” tab, click “Property settings” and you will see the property ID in the top right corner:
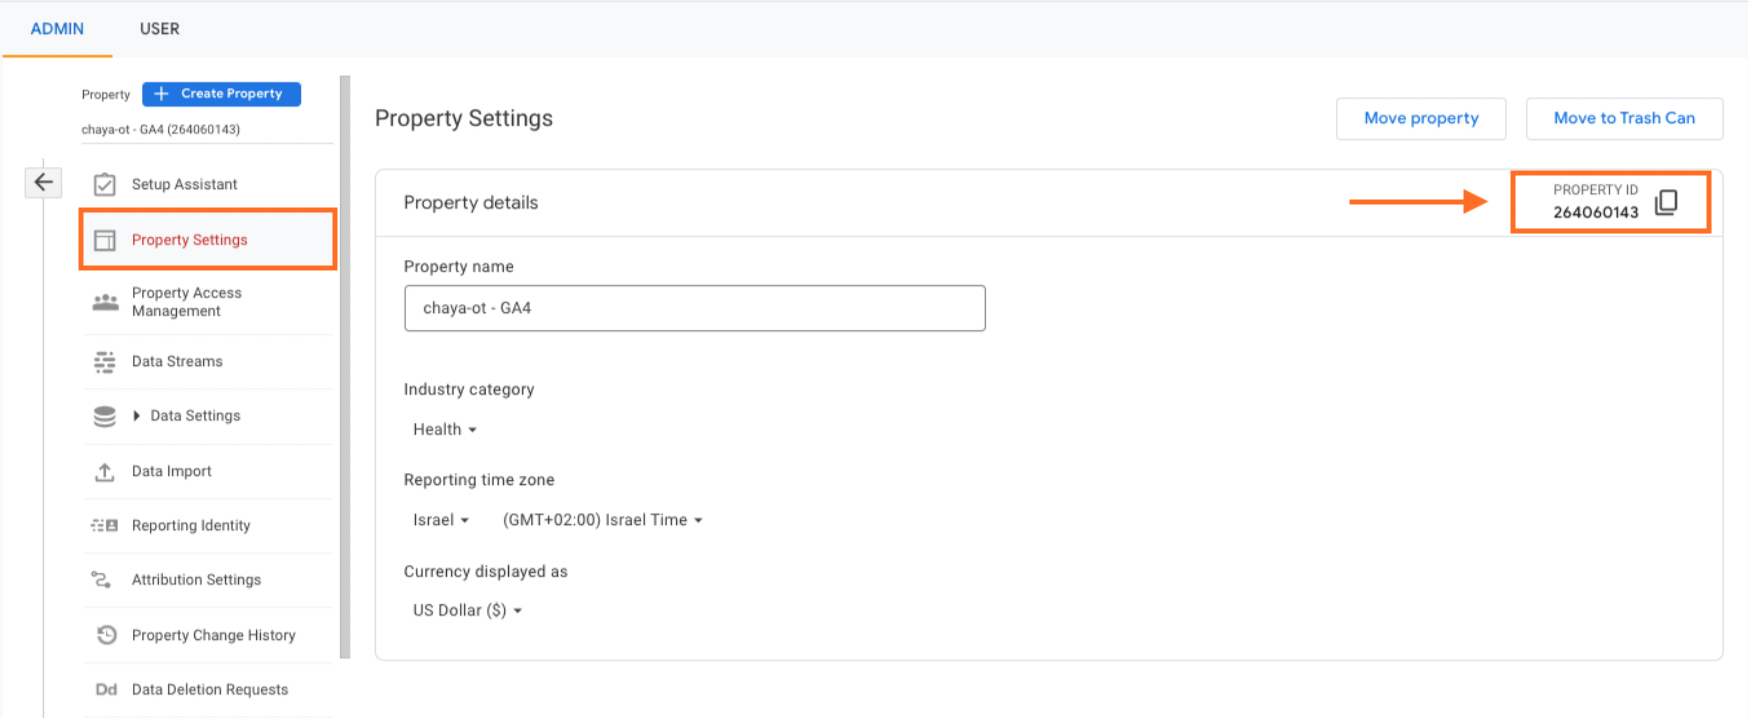
Copy and paste it in the below field, then click “Save”.
Once your data is synced, all your campaigns using EBS will be optimized toward your selected goal. Please note that in order to optimize your campaign toward your goal (Pages Per Session, Session Duration or Bounce Rate), our system might adjust your CPC up to 3x your entered CPC. You will be able to see the average CPC, which will indicate how much did the algorithm raised your entered CPC (it will typically be close to the one that was entered).
For new campaigns:
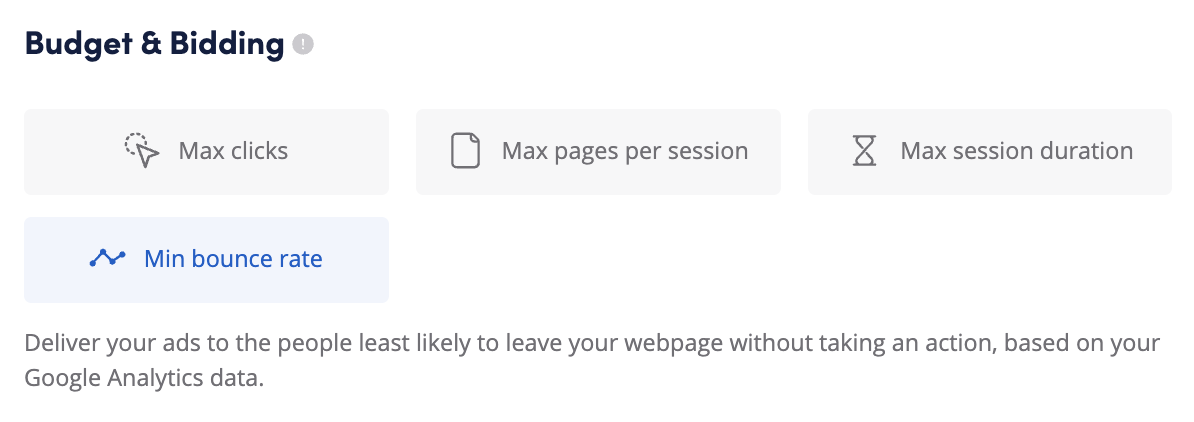
When creating a campaign, you are first prompted to choose your campaign objective. EBS is only available when selecting “Traffic” as your main objective. After selecting your creative format and placement, you’ll hit the “Budget & Bidding” section, and will be presented with the 4 different modes of EBS: Max Clicks, Max Pages Per Session, Max Session Duration and Min Bounce Rate.
Clicks
If your primary objective is Traffic and you want to optimize toward clicks/CTR, this mode is for you. The “Clicks” mode utilizes Outbrain’s internal data to auto-optimize toward the inventory and audiences driving the strongest CTR results while still giving you control over your CPC. After entering your desired CPC, set up your campaign as you normally would.
Max Pages Per Session, Max Session Duration and Min Bounce Rate
When you select Pages Per Session, Session Duration or Bounce Rate, we optimize your campaign traffic based on the corresponding data pulling in from your Google Analytics account. When selecting one of these three modes, you’ll be prompted to integrate your Google Analytics data. The below steps apply to Pages Per Session, Session Duration and Bounce Rate modes.
1. Click the “Set Up Integration” button. A pop-up message will appear, asking you to connect your Google Analytics account. Choose the relevant integration (Google Analytics Universal or Google Analytics 4) and sign in with your Google account. Select the “Sign In” button.

2. Once you’re signed in, you’ll be prompted to allow Outbrain Amplify to access your Google Account (please note that Outbrain only accesses the Google Analytics data generated for Outbrain, and does not modify the data — it’s for read-only purposes). Click “Allow.”

A new pop-up message will appear asking you to enter your Google Analytics View/Property ID.
3. For detailed instructions on how to retrieve the view/property ID, please refer to the previous section of this article.
4. Fill in your desired CPC. Please note that in order to optimize your campaign toward your goal (Pages Per Session, Session Duration or Bounce Rate), our system might adjust your CPC up to 3x your entered CPC. You will be able to see the average CPC, which will indicate how much did the algorithm raised your entered CPC (it will typically be close to the one that was entered).
5. Once this integration process is complete, you may finish setting up your campaign as you usually do.
*** Please Note ***
- From the “Account settings” tab, you can see the status of your data syncing, as well as detach the entered Google Analytics account in case you would like to add a new one. You can use the same account and View/Property ID for multiple advertisers, as long as you’re using the same Google Analytics account.
- If you’re managing several Amplify accounts, you’ll have the ability to use different Google Analytics accounts for each, or keep the same.
Common errors and troubleshooting
In case you encounter any issues with setting up the GA integration or notice an issue with data syncing, please refer to this article.
Data use & privacy
- Outbrain access to Google Analytics data is formally approved by Google.
- We only read Outbrain’s related data by filtering out data signals that do not contain our click ID in the landing page URL.
- For optimisation and audience segments building purposes, we only use contextual data based on clicks (ie. time of day, section, browser, etc.) and do not use user’s personal data.
- You are able create your own filter in Google Analytics, that will automatically collect traffic generated only by your Outbrain campaigns. To create the filter, navigate to the Filter section in the view in which you want to create the filter, and include “dicbo” in the Filter Field (as shown on the screenshot below).
